- +8618937185591
- +8618937185591
- ec19@zkcorp.com
- +8618937185591

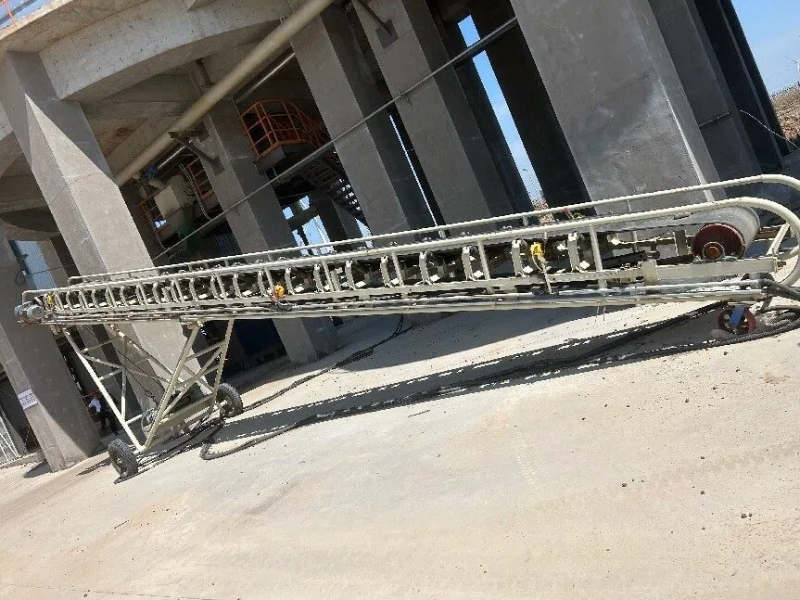
01 Equipment installation
Whether a belt conveyor can meet the design and installation requirements and operate normally and smoothly mainly depends on the installation accuracy of the driving device, drum and tail wheel. Whether the center of the belt conveyor bracket coincides with the center line of the driving device and tail wheel, so the setting out during installation is particularly important.
(1)Setting out
We can use theodolite to mark between the head (driving device) and tail (tail wheel), and then use ink bucket to snap the line point by point, so that the center line between the head and tail is connected into a straight line. This method can ensure higher installation accuracy.
(2)Installation of drive device
The driving device is mainly composed of motor, reducer, driving roller, bracket and other parts.
First, we assemble and place the driving roller and bracket on the embedded plate, place steel backing plate between the embedded plate and the support, level with a level meter to ensure that the levelness between the four points of the support is less than or equal to 0.5mm.
Then, find out the middle line of the driving roller, place the line drop on the center line, adjust the longitudinal and transverse center line of the drive roller to coincide with the center line of the foundation.
When adjusting the elevation of the drive drum, it is necessary to reserve a certain allowance for the adjustment of the motor and reducer elevation. Since the connection between motor and reducer has been adjusted on the support during equipment manufacturing, our task is to align and level and ensure the coaxiality between the reducer and the drive drum.
During adjustment, the drive drum is taken as the benchmark. Because the connection between the reducer and the driving drum is nylon rod elastic connection, the accuracy of coaxiality can be properly relaxed, and the radial direction is less than or equal to 0.2mm, and the end face is not more than 2/1000.
(3)Installation of tail pulley
The tail pulley is composed of a bracket and a roller, and its adjustment steps are the same as those of the driving roller.
(4)Installation of supporting legs, middle frame, roller support and roller
Most of the legs of the belt conveyor are H-shaped, and their length and width vary according to the length and width of the belt and the amount of belt transportation.
Next, we take the 1500mm wide outrigger as an example, and the specific operation method is as follows:
① First measure the width direction of the center line, make a mark.
② The outrigger is placed on the embedded plate on the foundation, and the center line in the width direction of the outrigger coincides with the center line of the foundation.
③ Make a mark at any point (generally within 1000mm) on the foundation center line, take this mark as the base point, and measure the distance from this point to the two legs with a box ruler. According to the principle of isosceles triangle, when the two dimensions are equal, the legs are aligned.
④ It is made of No. 10 or No. 12 channel steel. Row holes with diameter of 12 or 16mm are drilled in the width direction of channel steel, which is used to connect the idler bracket. The connection form between the intermediate frame and the outrigger is welding. During installation, the level meter shall be used to measure to ensure the levelness and parallelism of the intermediate frame. For the two channel steel in the parallel direction, the diagonal measurement method shall be used to align the symmetry of the upper row holes, so as to ensure the smooth installation of the idler support and the centering support.
⑤ Install the idler bracket on the middle bracket, connect with bolts, and install the idler on the idler bracket. It should be noted that there are four groups of rubber idlers under the blanking port, which play the role of buffer and shock absorption.
⑥ Install the lower parallel idler and the lower centering idler.
Fast, professional and reliablewe provide you with services throughout the product ...

Email
ec19@zkcorp.com

Whatsapp
+8618937185591
Fast, professional and reliablewe provide you with services throughout the product . you with services t


